Overview#
In this article, I will describe a vulnerability that I identified during a recent penetration test. The focus is on a cache poisoning attack that resulted from a custom caching implementation, combined with additional issues such as misconfigured Access Control Lists (ACLs).
ATK surface#
When it comes to mapping out the attack surface or identifying vulnerabilities, every security professional has their own preferred tools and methodology. In this article, I will begin by outlining my approach. Specifically, I will detail my process for evaluating Access Control Lists (ACLs), as this step led me to discover the vulnerability.
ACL Matrix#
When assessing authorization and authentication issues, a critical first step is to create a ACL matrix including all the accounts and roles you use in the application. For example, consider the following user-role example assignments:
| U/R | Role 1 | Role 2 | Role 3 | |
|---|---|---|---|---|
| User 1 | x | User | ||
| User 2 | x | User | ||
| User 3 | x | x | Support | |
| User 4 | x | x | x | Admin |
This matrix indicates, for instance, that User 1 is assigned to Role 1, and so forth. The next step is to test these assignments by verifying whether User 1 with Role 1 can perform actions or access data belonging to User 2 or User 3 for each feature the application offers.
If it makes sense in your application, you can also test for ACL issues on the same role, e.g.
User 1inRole 1tries to access data fromUser 2withRole 1.
Example:
| GET SomeFeature | User 1 | User 2 | User 3 |
|---|---|---|---|
| User 1 | x | ? | ? |
| User 2 | ? | x | ? |
| User 3 | ? | ? | x |
Another example closer to reality, suppose the application allows users to manage projects, with each project having a unique identifier. If User 1 opens their project and intercepts the request, they could attempt to replace their project ID with that of User 2’s (assuming we know the ID, since we control both accounts in the test). If the ACL is properly implemented, User 1 should be denied access to User 2’s project, unless it has been explicitly shared.
While this logic is straightforward, identifying such issues can become time-consuming and tedious, especially when dealing with large or unoptimized applications with hundreds of requests to review. For this reason, automating this process is highly desirable. Fortunately, there are established Burp Suite extensions available that can help automate these checks and streamline the workflow.
Auth Analyzer#
Burp Suite includes several plugins for authorization testing, such as Authorize, AuthMatrix, and Auth Analyzer. I prefer Auth Analyzer because it’s intuitive and consolidates all necessary features in a single, well-organized interface.
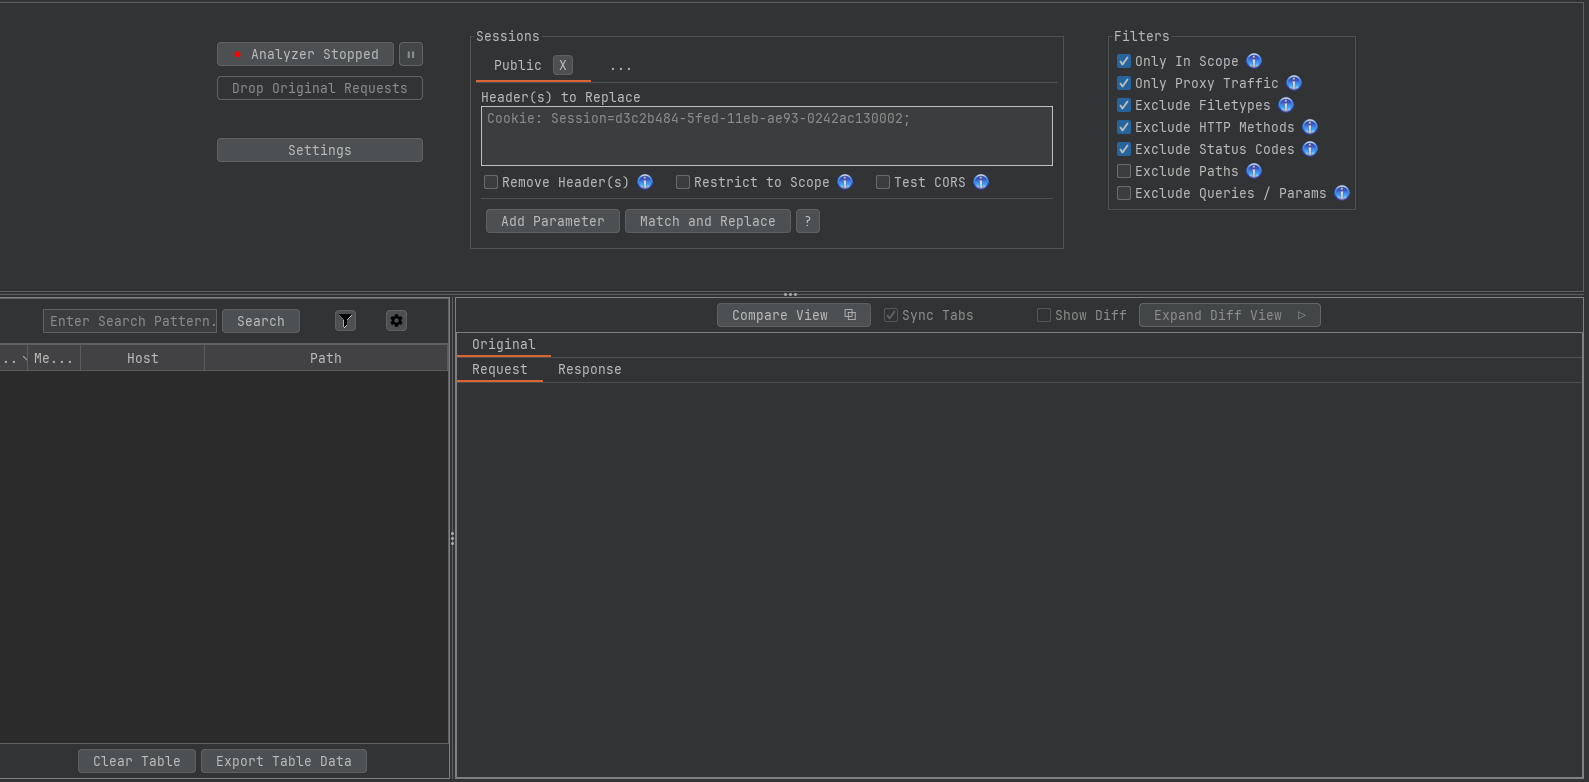
To use Auth Analyzer, create separate tabs for each user within the session options and assign the appropriate authorization header (for example, Cookie: ABC) to each account. As you browse the target application, Auth Analyzer will automatically replay all requests using each session. The tool then displays the result for every request—such as SAME, DIFFERENT, or SIMILAR – making it straightforward to spot inconsistencies in access control.
However, I always review the requests manually, and think about if those request should be allowed or denied for the feature im currently testing.
As an additional tip, I always include an empty user – meaning a session without any authentication (e.g.
Cookie: InvalidValue). This helps to identify resources that might be accessible without valid credentials.
The Vulnerability#
While browsing the application and capturing requests in Auth Analyzer, I noticed a server-side caching mechanism in place. Specifically, there was an endpoint that accepted JSON data, which appeared to be cached by the server after submission.
| |
This behavior using API calls seemed extreamly unusual (looks like a self implemented localstorage of the browser), so I began a more detailed analysis. My first step was to test which parameters the caching mechanism was bound to (cache keys) – that is, to determine how and where the cache was stored or invalidated.
If you’re interested in cache poisoning, be sure to check out my other article on this topic.
After some quick tests I found that the cache key is based on a unique identifier, such as /bc6481eb-fa2b-4628-9de1-87e7aa7708c5. This means that, for a successful attack, one would need to leak or enumerate these UUIDs. For now, let’s continue our enumeration to see if and how this behavior could be exploited.
While exploring additional features, I noticed there were several processes with input fields for user input. Interestingly, each time a user entered a character, a caching attempt was triggered.
PUT /api/caching/SetCacheItem/bc6481eb-fa2b-4628-9de1-87e7aa7708c5 HTTP/2
Host: redacted.com
Cookie: SomeCookie
Content-Type: application/json

{... "name": "Hello F", ...}

{... "name": "Hello Fr", ...}

{... "name": "Hello Fro..", ...}
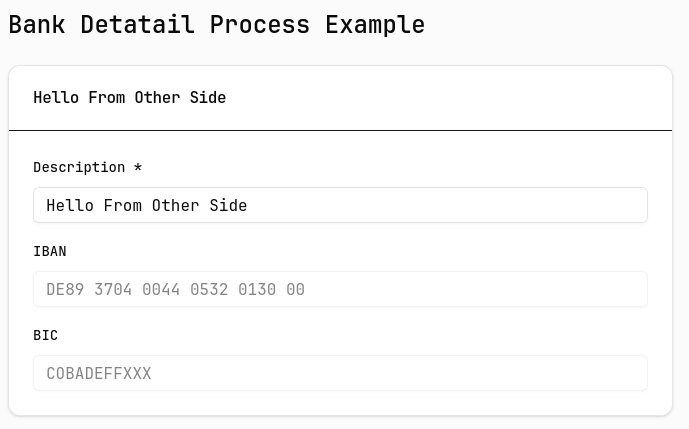
This indicates that the cache is intentionally designed to store user data, so that information is preserved even if a user accidentally refreshes the page or closes their browser. If access control (ACL) on this UUID is missing – or if developers assume the UUID is unguessable and therefore don’t implement proper ACL – it could be possible to retrieve cached data belonging to other users. This could potentially expose sensitive information, such as banking credentials.
Accessing or extracting this data was also very straightforward:
GET /api/caching/GetCacheItem/bc6481eb-fa2b-4628-9de1-87e7aa7708c5 HTTP/2
Host: redacted.com
Cookie: SomeCookie
| |
After quickly reviewing the results in Auth Analyzer, I was genuinely surprised. It revealed that my unauthenticated user – without any cookies or tokens – was able to both set and retrieve data from the cache. This means that if we can obtain a valid UUID, we could not only read the data associated with a user’s session (such as their input), but also overwrite it with our own values. These changes would then be reflected in the authenticated user’s session the next time they reload the page.
Since reading from the cache is already trivial with just a valid UUID, let’s focus on how writing works. Assuming we have identified a valid UUID, we can read the cache contents, modify the JSON payload returned by the server, and send it back to update the cached data:
| |
After sending the modified data to the cache and reloading my browser, the expected outcome occurred:
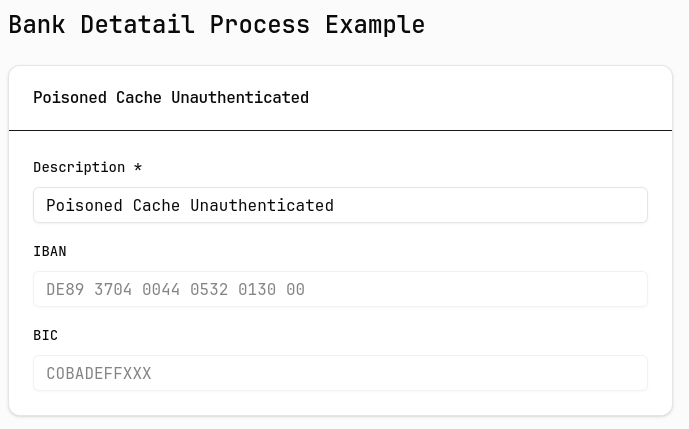
This is an extremely critical issue, as the integrity of cached data cannot be guaranteed. However, there remains the challenge of obtaining valid UUIDs. To address this, I looked for endpoints that might either leak UUIDs or allow for brute-forcing due to missing rate limiting.
Fortunately, after some investigation, I discovered another endpoint that required no authentication at all and, to make matters worse, had no rate limiting in place. The response contained some uninteresting information about the instance, however, it only replied this data when the UUID was valid:
GET /api/ProcessInstance/{uuid}/GetActivateUserTask HTTP/2
Host: redacted.com
HTTP/2 200 OK
Content-Type: application/json

{
    "id":"some-id-value",
    "assignee":null,
    ...
}
In theory, this would allow us to brute-force any UUID in use. However, since the application uses UUIDv4 – which is designed to be completely random – this approach is only partially viable. The likelihood of a successful brute-force increases with the number of active users (and thus active UUIDs) on the platform. Despite this limitation, the vulnerability remains extremely critical, and I found the process of discovering and testing it both interesting and enjoyable.